Destiny 2 players just got their hands on the new Spire of Stars Raid Lair, and it's extremely difficult. This time around the minimum 370 Power Level is basically required, so be prepared to die if you're not ready. That being said, here's a full walkthrough of all the major phases. We'll tell you which orbs to pass, which platforms to jump to and how to beat the final boss.
Optimal team compositions are still being worked out, but we highly advise having two Warlocks and two Titans in your party. Ability-wise, that will help you do the most damage in the end.
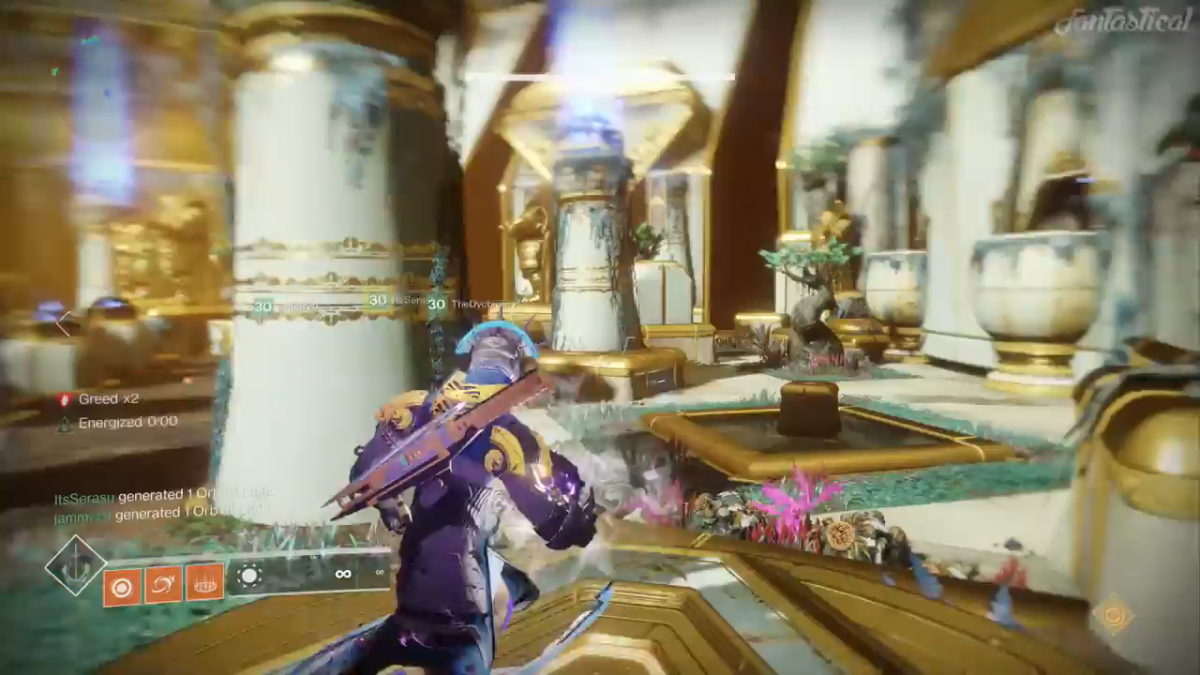
PHASE 1: STATUE GARDEN
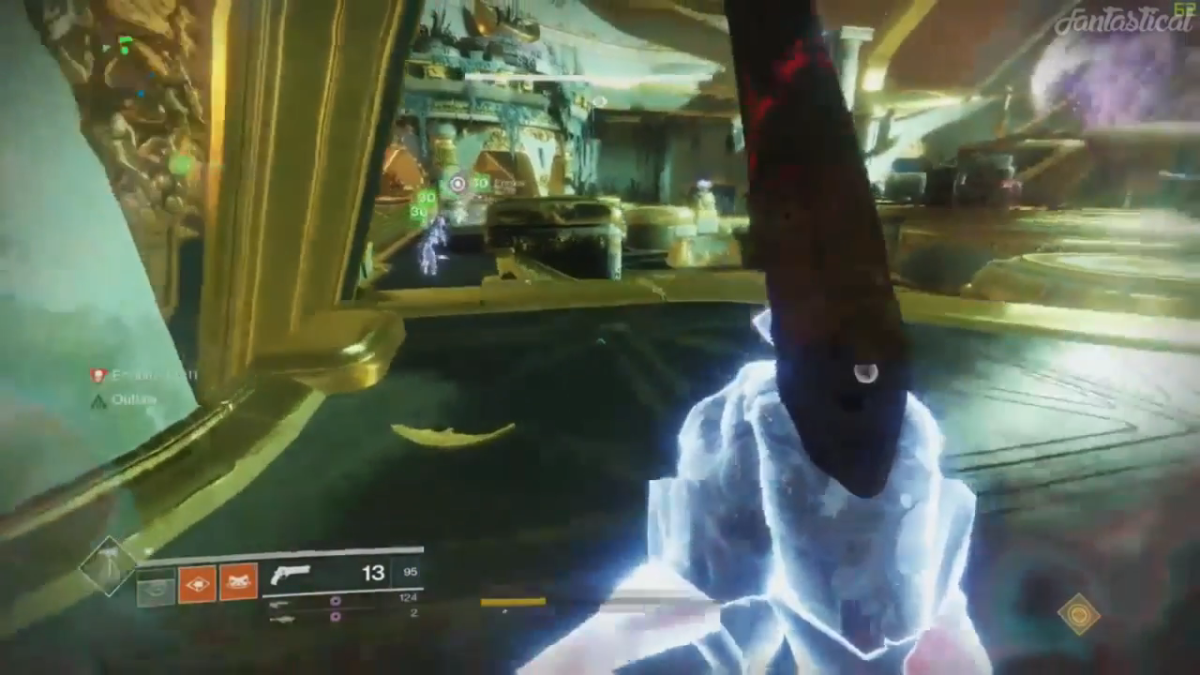
You'll start Spire of Stars in a room with four pillars and a huge cauldron in the middle. With that in mind, assign one team member to each pillar and have the remaining two members on add control. A ball spawns in the back of the room. Walk over to pick it up. Throw it into the Cauldron to start the step.
The main feature of this phase is the white Greed wisp coming from each of the pillars. If you're engulfed in Greed while standing on a pillar, you'll die in 15 seconds. Holding the ball for too long can also kill you. Given those limitations, the goal is to stand on each of the four pillars and pass the ball around in a clockwise or counterclockwise fashion till the pillar stops rising. So, use the ball to elevate the pillar, pass it to the next person, they catch it and get on their pillar. Do this until all four pillars are fully raised and toss the ball into the Cauldron. If you take too long to do so, the pillars will start to sink. Do this three times and the phase is over.
As for add control, be aware that high-level enemies spawn about halfway through the process. It's also good to have a teammate standing by the statue to toss the ball to the first player at the start of each toss cycle.
SIMPLE PLATFORMING
For the next phase you'll drop down through the newly opened hole and keep going till you reach the Power Conduit Room. Keep following the path till you get here.

Head through the back room to the right, and you'll see a terminal with a lever to pull. It deploys a bridge so you can start jumping. You'll come to an unavoidable lever in the middle of the puzzle that requires two teammates, and the third is at the top of a string of rotating platforms. Three players must be nearby to pull the final lever. All the lights turn green, and you'll be offered entry to the next area.
Keep going till you reach a room with big, red cylinder in the middle. Just destroy the little brackets around the structure with a long-distance shot. Break them all to wreck the pillar and drop to the next treacherous encounter.
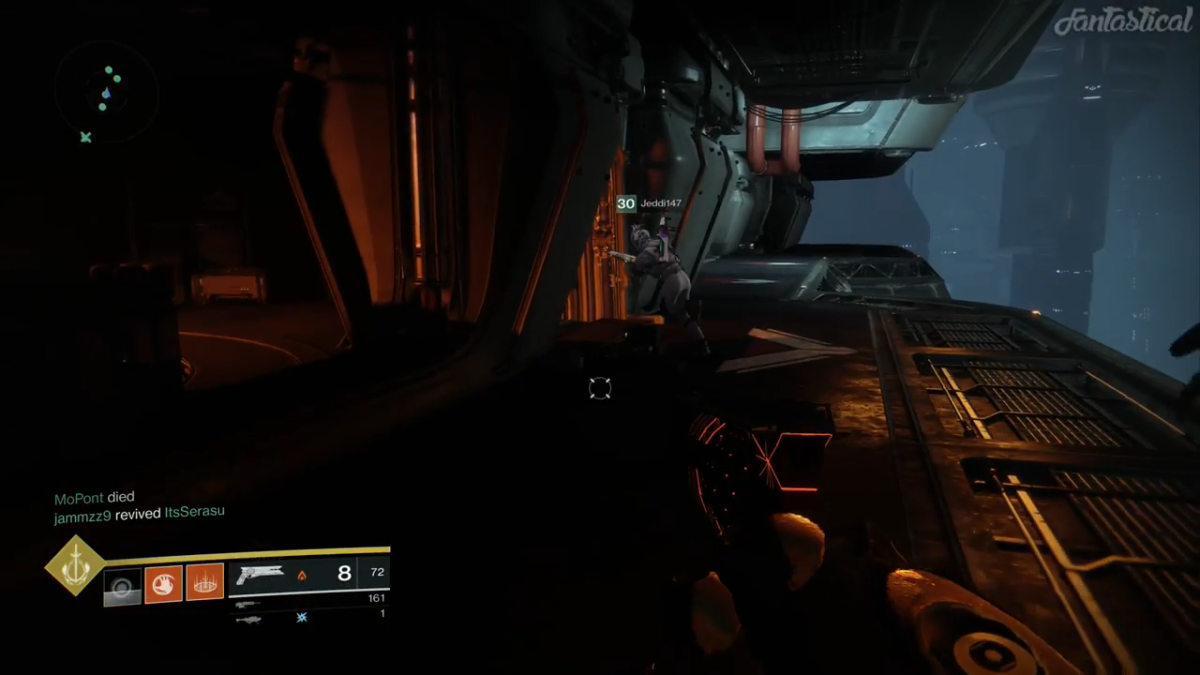
THE CELESTIAL OBSERVATORY ENCOUNTER
In the room you'll see four more plates: two on the left, and two on the right. The correct plates glow with contact. Once each plate has a person standing on it, an orange beam shoots up in the middle of the room. Three of your team members will also get a buff called Superior Retainer. The buff allows you to jump in the beam and warp into space.
Send one team member with Superior Retainer through the beam, and make sure another person steps in to activate the plate they were standing on until teleportation is complete. If you've stepped in the beam, you'll see holograms of the three ships outside.
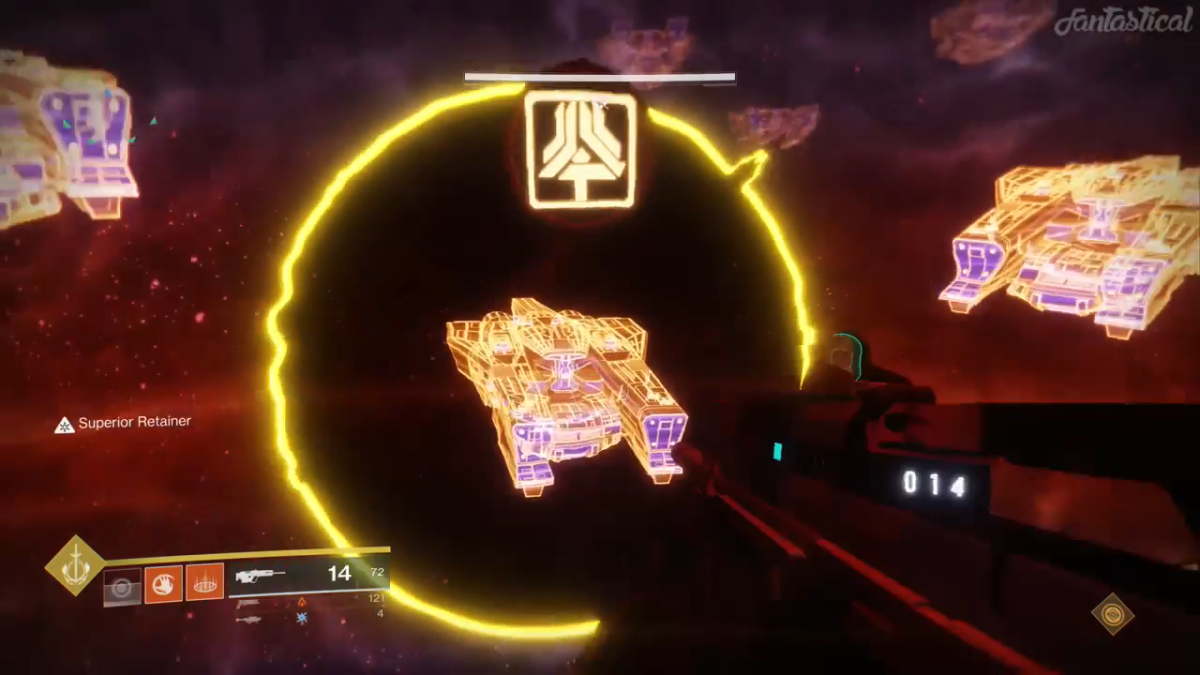
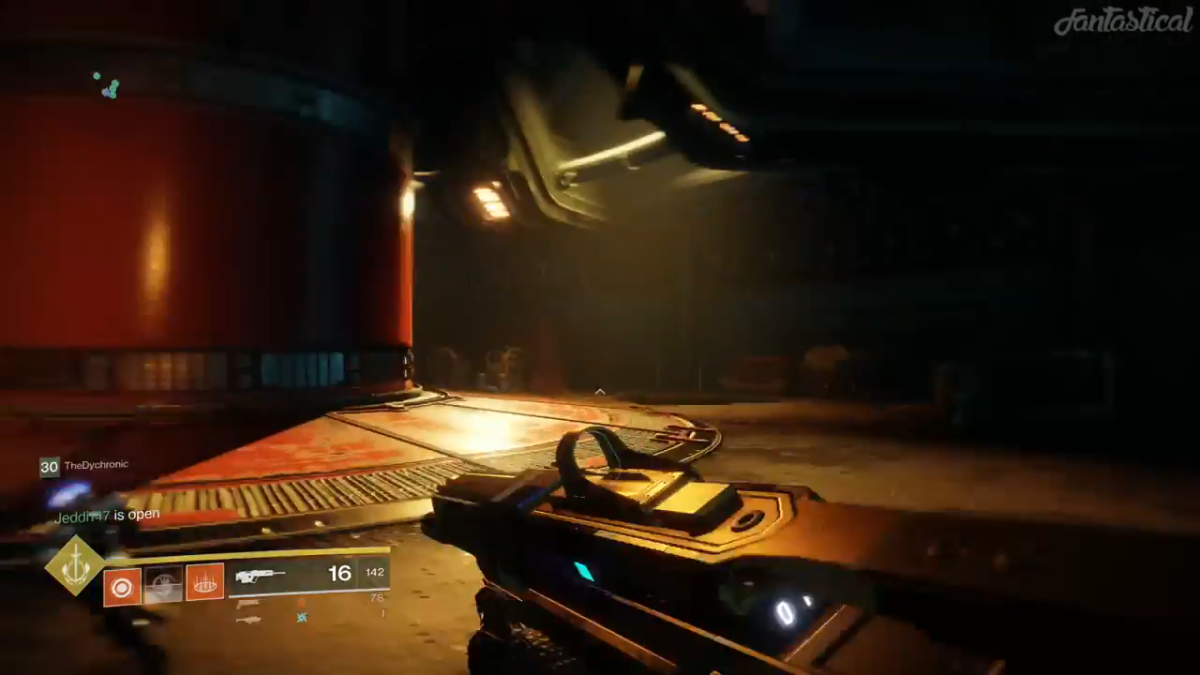
Make note of the ship that has the circle and symbol around it and report that to your team. The symbols correlate to three plates in the left, middle and right of the arena. Move to these symbols once your Retainer member has teleported. You'll know you've done it right when you see three lights. Get the person who teleported to grab the orb that drops in the arena just before their return.
The next step is to charge the orb like you did in the first encounter. You'll see the white wisp for Greed in the center of the arena. Once it's charged, you then take the orb to the corresponding symbol. As long as your team is still standing on all the symbols, the doors will open. Throw the orb in the opening to arm the weapon. Once you do that, it's time to kill some adds.
Eventually more orbs spawn, and you must take them back up through the beam like you did before. Again, all team members must be standing in the proper place to get that beam to appear. Grab an orb that falls after, get it wisped, go into space, look at the targeted ship and throw the orb at it. Do this three times to beat the encounter.
There is one huge wipe to make note of, though. Make sure all the wispy debuff spots don't stay red for too long. Fix this by grabbing an orb and charging it there.
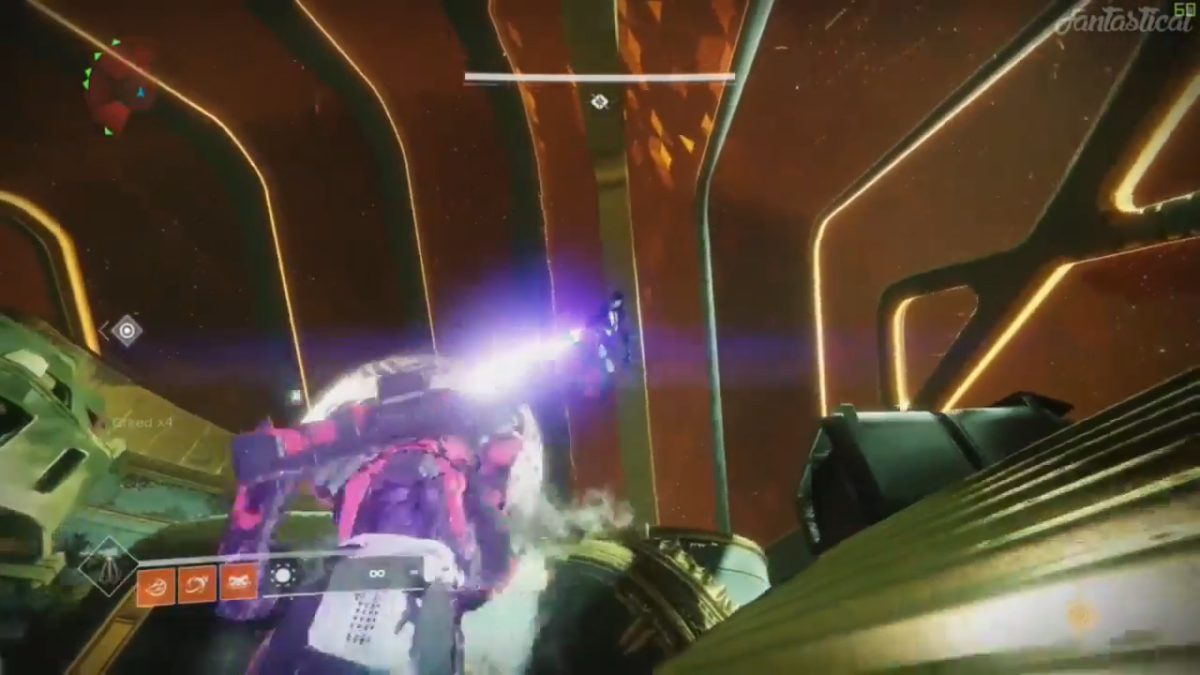
THE FINAL ENCOUNTER
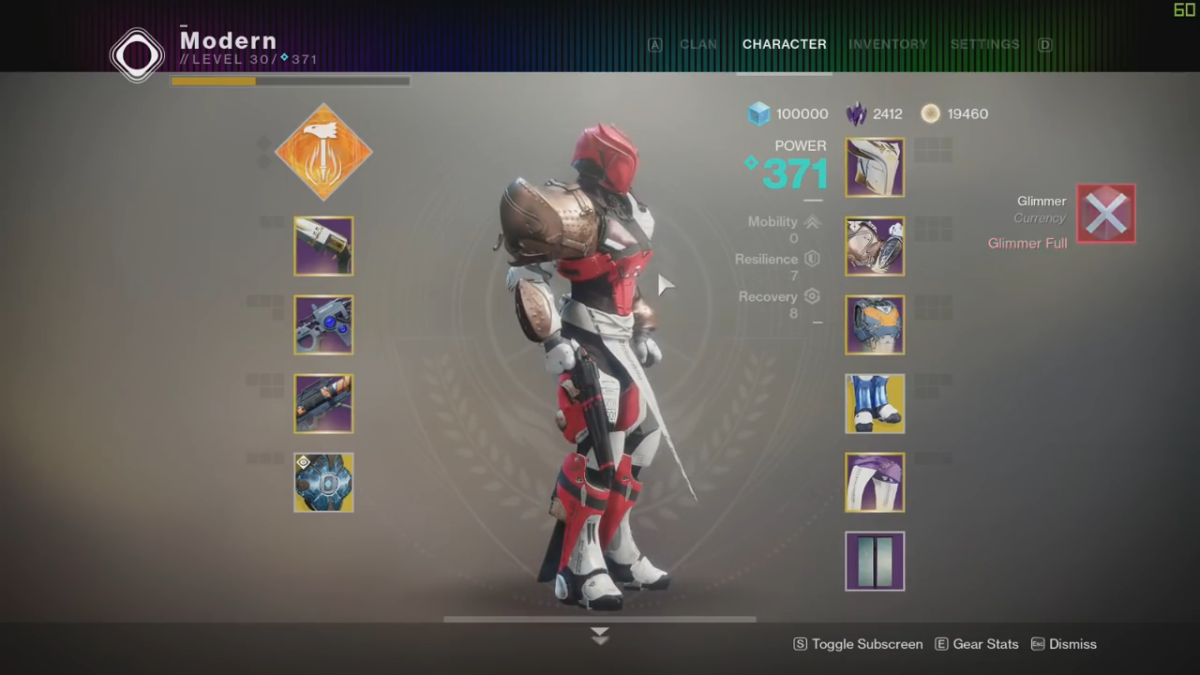
As is to be expected, the final boss encounter is truly brutal. That being said, this is where that 370 Power Level matters. If you're not there yet, leave and come back via the checkpoint. We've got a guide to help you level up fast if you feel you need that.
If you're ready to proceed, start by killing a bunch of adds till you have maximum Heavy ammo. Lots of them will spawn when you initiate the fight, so just create a formation and go. It might be helpful to have two team members on each side of the arena and one in the center.
Eventually you'll kill enough adds for the boss' shield to go purple. When this happens, a ball appears on one of the outer plates.
Have someone grab the ball and meet up in a formation. You'll notice that everyone except the ball holder will glow blue. Very quickly toss the ball to everyone on your team while the boss is charging before the Engulfed debuff timer elapses. If you've done it right, the whole team will be cleansed.
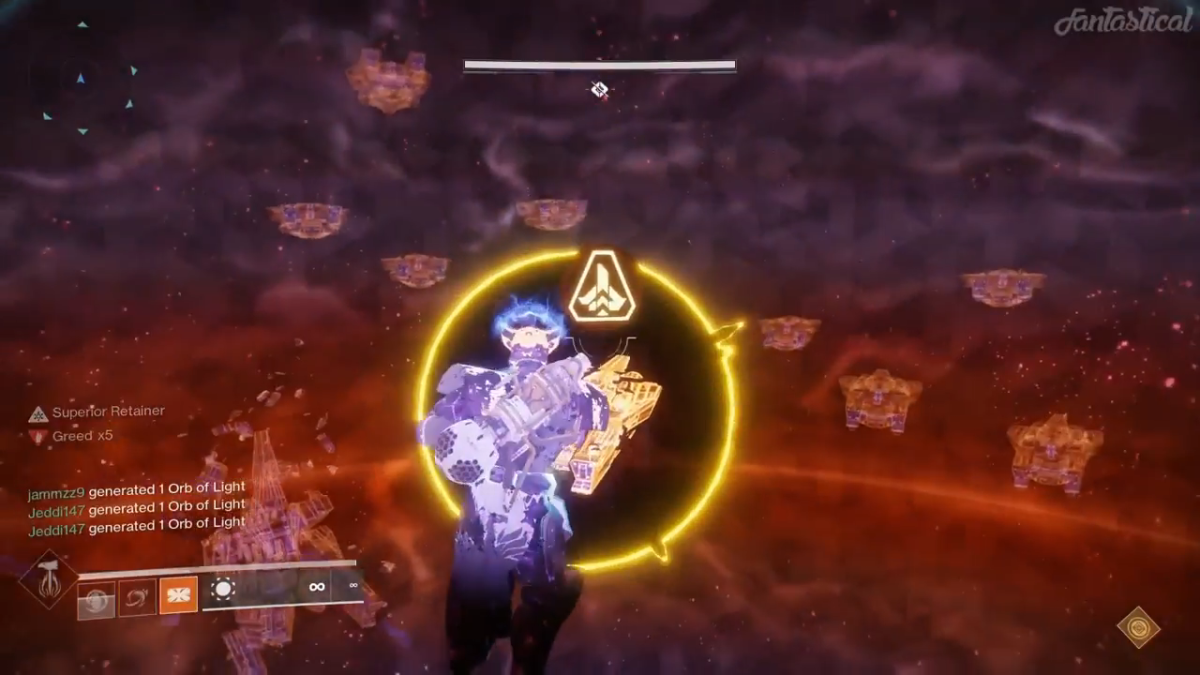
After that, meteors will fall on the outer plates. Just like before, someone must hop into the orange beam created when four players stand on the outer plates. This time you'll see two symbols in the space area and two orbs will drop outside. The person in space should call out the symbols as has been routine. Toss the balls to the players responsible for the corresponding symbols. Pass them through the Greed wisp, and get everyone standing on the symbols to open the doors. Both throws don't have to be simultaneous, but you are operating on a timer.
If you do this right, two more balls spawn on the outer plates. Get back on the plates, and throw the balls to the two players that get the Superior buff. Those two players have to pass the balls through the Greed wisps, go up into space with them and throw the balls to destroy the two ships.
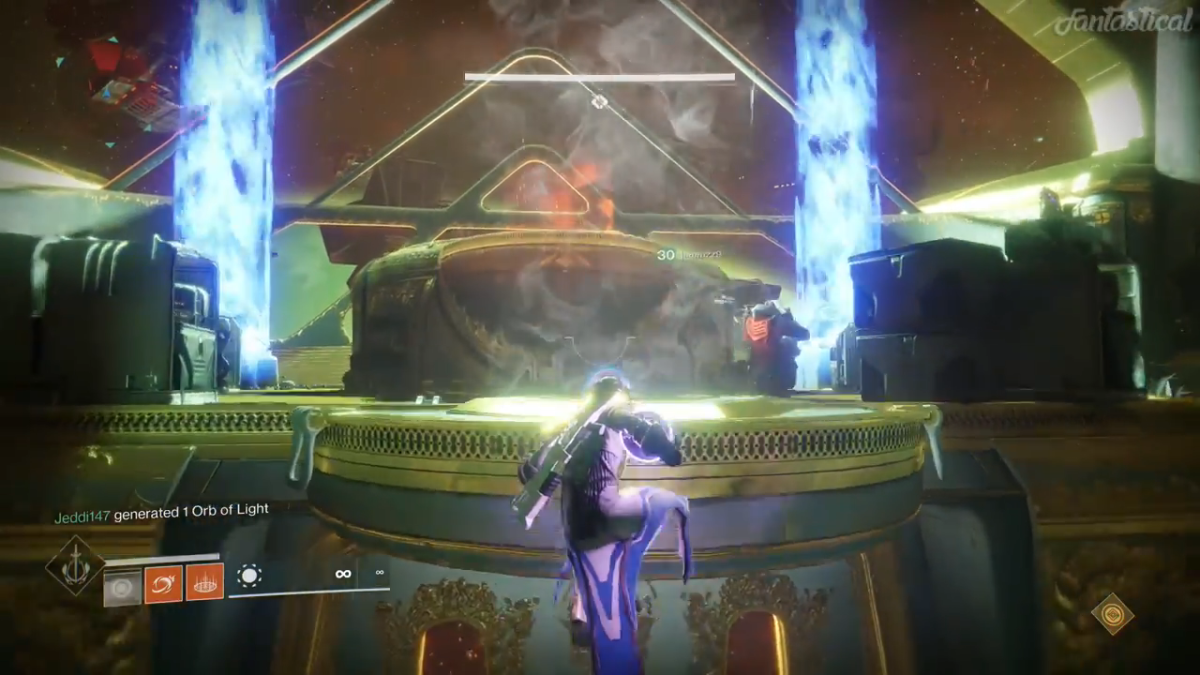
Next, a ball will spawn. Run it through a wisp and pass it between teammates to share the debuff as the timer rises. Eventually Callus will start charging from behind the boss, so throw the charged balls at Callus to destroy his shield. From here, have your Titans use Melting Point and throw tomahawks while backing up into the side rooms. Spam rockets at the boss, kill a bunch of adds and a ball will appear.
Once again cleanse, get on the plates, send the Superiors into space, report the two symbols, get the two balls to the symbol players, dip the balls in the Greed wisp, hop in space with the Greed-laced orbs and toss them at the corresponding ships. The ball drops again, share the debuff to make sure the timer doesn't elapse and another damage phase begins. Rinse and repeat till the fight ends. If you made it here, you'll get some really gross armor and high-level gear.
That's all there is to know about Spire of Stars if you dare to complete it. If you're confused by the text in this walkthrough, we've embedded a few noteworthy videos that illustrate each phase.
Destiny 2 is available now on PS4, Xbox One and PC. Spire of Stars is exclusive to the new Warmind DLC. For even more help with Warmind, read our lists of Memory Fragment and Sleeper Node locations.
What are your thoughts on Spire of Stars? Is this the toughest raid yet? Tell us in the comments section!
Uncommon Knowledge
Newsweek is committed to challenging conventional wisdom and finding connections in the search for common ground.
Newsweek is committed to challenging conventional wisdom and finding connections in the search for common ground.
About the writer
Christopher Groux is a Gaming and TV reporter with bylines at Newsweek, Player.One, iDigitalTimes, IBTimes, QJ.Net and more. Now, his primary ... Read more
To read how Newsweek uses AI as a newsroom tool, Click here.